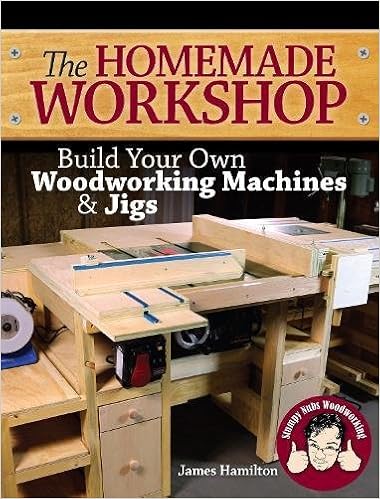
By James Hamilton
Let's face it: Woodworking isn't really reasonable. wooden and fabrics on my own can price a small fortune. And well-designed advertisement woodworking machines are frequently so dear that they're past the succeed in of many domestic woodworkers. So what is a woodworker to do? Do what Stumpy Nubs does and construct your own!
In The selfmade Woodshop, James Hamilton, author of the preferred Stumpy Nubs web site, indicates you ways to construct woodworking machines for a fragment of the price of store-bought versions – and with extra good points besides! you will discover 12 distinctive tasks for development unique, sturdy shop-made machines including:
Read Online or Download The Homemade Workshop PDF
Similar woodworking books
Portable Power Tools (Art of Woodworking)
The artwork of Woodworking - transportable energy instruments
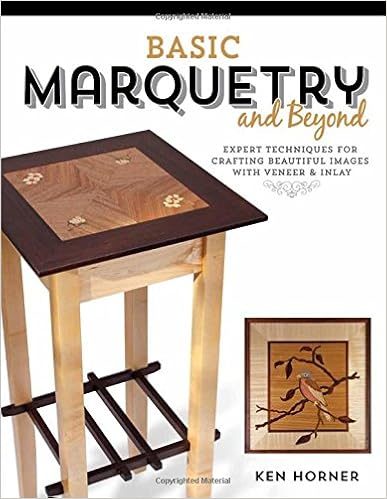
Книга Marquetry MarquetryКниги English литература Автор: Pierre Ramond Год издания: 2003 Формат: pdf Страниц: 218 Размер: fifty five. 7 MB ISBN: 0892366850 Язык: Русский0 (голосов: zero) Оценка:For centuries the paintings of marquetry has been established in Paris, the place the culture has been transmitted purely inside of workshops centred within the Faubourg Saint-Antoine.
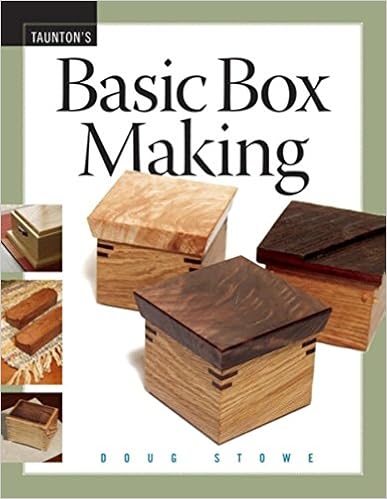
Field making is ideal for starting woodworkers drawn to gaining abilities, experimenting with layout, and feeling pride at a undertaking that may be accomplished with no the time and cost dedication of a larger venture. This booklet will supply uncomplicated designs, in addition to many adaptations to educate diverse woodworking recommendations whereas the reader creates a realistic merchandise or a present that may develop into an heirloom.

Think the great thing about a deer operating throughout the wooded area, a buffalo status on a prairie at sundown, or a mallard drake winging in the course of the cattails-all stunningly carved in wooden below inches thick. this can be the artwork of flora and fauna reduction carving, the place stylish photos of animals and birds are dropped at existence with carving innovations which are effortless to grasp and acceptable to any form of woodcarving you opt to do.
- The Art Of Woodworking. Kitchen Cabinets
- The Perfect Edge: The Ultimate Guide to Sharpening for Woodworkers
- Glue and Clamps. The Missing Shop Manual
- 6,500 Woodworking Projects
- Unimat III Lathe Accessories (Workshop Practice Series, Volume 32)
- Fine woodworking best workshops
Additional resources for The Homemade Workshop
Sample text
An inexpensive drill press is the best tool for the job, but you could also use a hand-held drilling jig. OPTIONAL TOOLS: A pneumatic brad nailer will really speed things up by reducing clamping time. A basic router table is also a big help, so you may want to build that project first if you don’t have one. The workstation project utilizes a pocket hole jig, but there are ways to get around that. Everything else can be accomplished with basic tools you likely already own. CHAPTER 1 Sliding-top Router Table Next to the table saw, the router table is the most important “machine” in the workshop.
You will be using your combination square a great deal for this one! Pilot holes are also essential because a poorly driven screw will force your part out of alignment. Don’t worry; as long as you take your time, you’ll be fine! STEP 12: Cut a hole in the center of part A that will fit snugly around the fitting on your dust-collection hose. STEP 13: Glue the two triangles in place, connecting the carriage front and bottom panels as shown in Figure 11. Figure 11 STEP 14: Part A, with its beveled edges, should fit onto the sloped edges of the triangles.
Be sure the inner panels of each drawer bank are facing each other. Place the bottom stretchers (F and G) into the notches, sliding the drawer banks apart so they fit properly. Make sure the drawer banks are parallel to each other, then use screws to fasten the stretchers in place (Figure 6). Then use screws to attach the front stretcher (E) into the notch on the front of the drawer banks (Figure 7). Figure 6 Figure 7 Label Your Parts! All of these parts can get mixed up in a hurry! As you cut each one to size, use a pencil to label them with the letters included in the cutlist.