By Popular Woodworking Editors
ISBN-10: 1440313539
ISBN-13: 9781440313530
Pick a venture, end It in a Weekend
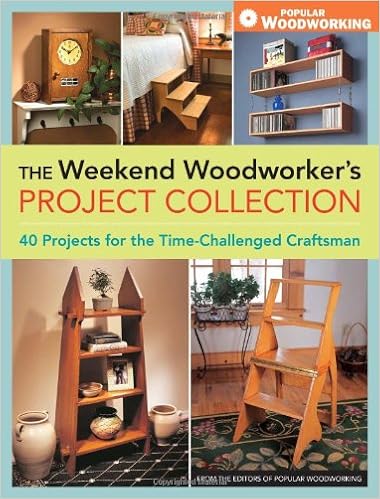
Do you could have time basically in the course of weekends to immerse your self on your woodworking? if that is so, then The Weekend Woodworker's undertaking Collection is for you. This ebook has forty initiatives from which to decide on and, counting on the extent of your woodworking abilities, any of them might be accomplished in a single or weekends.
Projects contain: a online game field, a jewellery field, numerous kinds of bookcases and cabinets, five mirror/picture frames and extra. And, you could choose between Arts and Crafts, Chippendale, Shaker, Federal, modern, Greene & Greene or American nation furnishings styles.
So, decide a undertaking and start - time's a wastin'!
Read Online or Download Weekend Woodworker's Project Collection: 40 Projects for the Time-Challenged Craftsman PDF
Similar woodworking books

Portable Power Tools (Art of Woodworking)
The artwork of Woodworking - moveable energy instruments
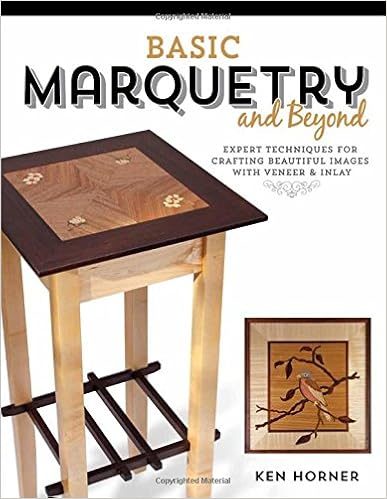
Книга Marquetry MarquetryКниги English литература Автор: Pierre Ramond Год издания: 2003 Формат: pdf Страниц: 218 Размер: fifty five. 7 MB ISBN: 0892366850 Язык: Русский0 (голосов: zero) Оценка:For centuries the paintings of marquetry has been established in Paris, the place the culture has been transmitted merely inside workshops centred within the Faubourg Saint-Antoine.
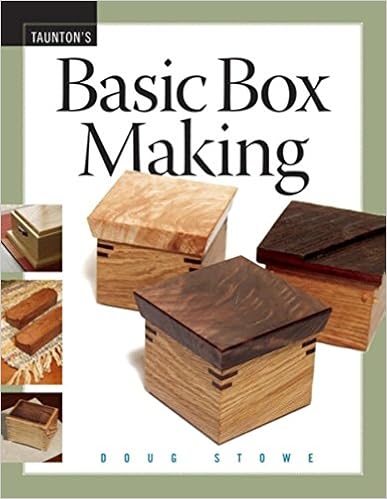
Field making is ideal for starting woodworkers attracted to gaining abilities, experimenting with layout, and feeling delight at a venture that may be accomplished with no the time and fee dedication of a larger venture. This booklet will provide uncomplicated designs, in addition to many diversifications to educate diverse woodworking thoughts whereas the reader creates a realistic merchandise or a present that may turn into an heirloom.
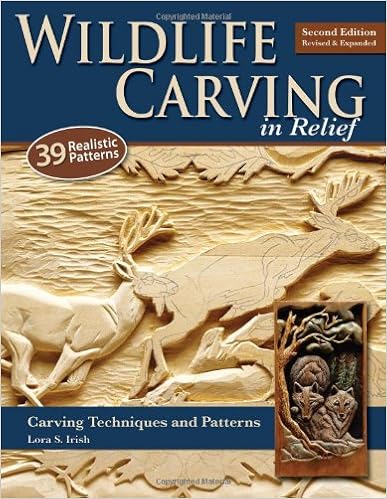
Think the great thing about a deer operating during the woodland, a buffalo status on a prairie at sundown, or a mallard drake winging throughout the cattails-all stunningly carved in wooden lower than inches thick. this is often the artwork of natural world aid carving, the place stylish graphics of animals and birds are dropped at existence with carving recommendations which are effortless to grasp and appropriate to any form of woodcarving you opt to do.
- 50 Easy Weekend Scroll Saw Projects
- Dividing (Workshop Practice)
- A First Course in Carpentry
- Taunton's Complete Illustrated Guide to Finishing
Additional resources for Weekend Woodworker's Project Collection: 40 Projects for the Time-Challenged Craftsman
Sample text
I found myself stuck in the 18th century when I made the clock back. If you’re positioned differently, you might just want to mill your stock to a 1⁄ 4" thickness and do away with the bevels. Fuming the finish. Fuming the clock in a clear tub allowed us to see the difference in the way the wood changed. We pulled the door and back out after two hours. The clock case stayed put for another 16 hours. Remarkably, the color achieved was nearly identical. A trick to install magnets. A brad driven into the center of a hole sized for a magnet will locate a second hole location by simply closing the door.
I used yellow pine because of its strength and stability. Although I finished my Franklin chair with shellac, it can be painted to fit any room or decor. indd 31 ■ 31 6/25/10 11:01:40 AM Stabilizer G Back step F 8 7/8" Slat B (3) 9 1/4" Back step F Seat rear D 37 1/2" Stabilizer G Back step F Seat front C Front step E 9 3/4" Front step E Seat rear D Front step E Slat B (3) Slat B (3) 9 5/8" Slat B (3) Side A (2) 3/4" 31/2" Slat B (3) 5" Slat B (3) Stabilizer G 31/2" Seat rear D Seat front C 6" Seat rear D 37 1/2" Side A (2) Rout a 1/4"-deep by 3/4"-wide dado in sides A for steps E & F.
Make the piece fit, then angle the back edge with a block plane. If the gap needs to be enlarged, a simple pass or two with a sanding block should do the trick. Secure the door in a vise or at your bench, then use a jigsaw to cut from the center hole to each facet junction. Next, cut close to each facet line without touching the line. As you reach each center-to-facet junction line, the waste falls away, allowing you to line up the next length of cut. A good jigsaw blade is a must. Now use a rasp to straighten your cuts.